 French manufacturing
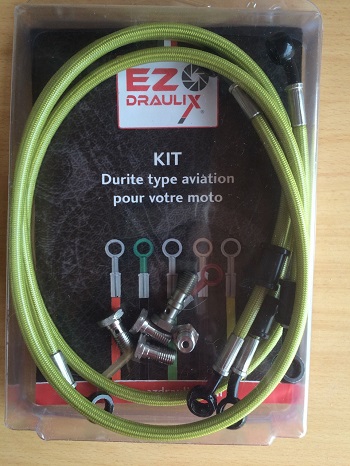
Assembly instructions for your EZDRAULIX motorcycle brakelines kit.
Click here to download this notice in PDF
Important :
- These instructions are valid for most motorcycles. Nevertheless, if you have any difficulties, we recommend you check your motorcycle maintenance manual or a specialist.
- Before purging and removing the old circuit, please check the compliance of the kit you received with the original hoses. Hoses lengths, banjos orientation etc.. this would allow you to use your motorbike in case a mistake was made.
- Put the motorcycle on the centerstand on a flat surface and protect your motorcycle – rims, fairing, cables, etc..- from brake fluid slashes, as it is very corrosive
- Clean all pieces that will be dismounted, to avoid dirt on your hands, toolings and the new kit.
- These instructions can be downloaded for printing, to have it with you when you will change your brake line kit.
1st part : Draining brakeline
- Open the front master cylinder tank (on the handlebar most often)
- Place a tube on the purging nut of the front calliper (Silicon tubes are very flexible and useful there)
- Put this tube in a little tank to collect brake fluid
- Unscrew calliper purging plug
- Pump front brake lever to empty the fluid
- Proceed the same way on the second disc if your motorcycle has a second one !
2nd part : Removing the old brakeline
- Unscrew the banjo(s) from the master cylinder
- Check how the copper washers are mounted on the screw
Litte trick ! : if you have no memory, take a picture with your smartphone !
- Remove all brackets that guide the hose on the fork, the frame and fairing,
- Get the hose(s) out taking care not to drop any brake fluid on the motorbike, you can place a cloth or paper in the banjo hole.
- Unscrew the banjo from the calliper, let all the fluid drop in the tank
- Plug the hole on calliper with a cloth or paper
Little trick ! : If some fluid drop on the rim, clean immediately with water.
- Check how the copper washers are mounted on the screw and remove them
- Proceed the same way on the second disc if your motorcycle has a second one !
3rd part : Assembling your new EZDRAULIX Kit
- Put the lines in place and check all is ok, if necessary on both sides of the motorcycle.
- Check the correct positioning of all elements according to your assembly choice (standard, racing, over the mudguard),
- Put the new circuit in ,
- Put the new screws and washers the same way they were originally assembled on the master cylinder, without bloking them,
- Do the same on disc(s),
- Screw all brakets that hold the hoses to the fork, frame and fairing,
- When all is in place, screw the banjos with a torque wrench (See values below) or with a quarter of a turn after screw starts blocking if you have no torque wrench
| Mini | Maxi | |
|---|---|---|
| Ft/lbs | 14 | 24 |
| Nm | 20 | 33 |
| Kgfm | 2.0 | 3.3 |
- Pour the brakeline fluid in the master cylinder,
- Put the draining tube and the tank on the calliper purging screw and unscrw it.
- Pump the brake lever several times to push the fluid down the hose,
- Screw the draining screw,
- Pump the brake level and maintain it, while you slowly unscrew the draining screw,
- Brake fluid goes out mixed with air bubbles,
- Screw the draining screw again and repeat this operation till no more air bubbles get out,
- Check regularly that some brake fluid still remaining in the tank on the handle bar,
- When all air gone, resistance of the brake lever is stronger, when no more bubbles, you can screw the draining screw,
- Proceed the same way on the second disc if your motorcycle has a second one !
- At the end fill the master cylinder tank with brake line fluid, put he seal back, put he cover and close it, that’s it !
Our recommandations :
- Make a trial at very slow speed on a private place and check the assemblies to detect any possible leak. Tighten and clean again if necessary before going out on the street.
- Do not forget to share some pics of your new kit on your personnal space of our website.
- If you have a different method or a more detailed one for your motorbike, some tricks, constructive remarks, fell free to share all these info on our blog or social networks.
The whole EZDRAULIX team wishes you good times driving your motorbike !
 Technical adviceLet's talk about your bike together
 Made in FranceAviation hoses guaranteed for life
 Secure paymentCredit card, Paypal, check, transfer
 After Sales ServiceAlways there for you